This guide describes how to connect the app to your guitar and introduces the basic functionality of the app.
Step 1. Enter Programming Mode by turning the MAIN switch on your guitar to the “PR” position. In Programming Mode the LED flashes red repeatedly, which indicates that the guitar is ready for connection.
Step 2. Start the application.
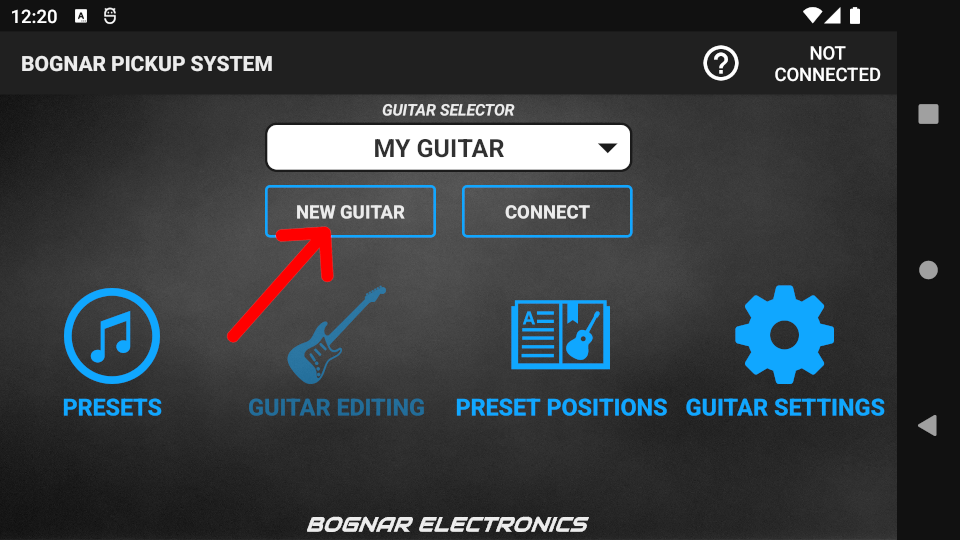
Step 3. Press the NEW GUITAR button to start creating your guitar in the app.
Step 4. Start scanning for your guitar by pressing the START SCAN button.
Bluetooth® scan requires Bluetooth® to be turned on, along with access to device location. Accept the permission request to continue. To easily find the right guitar in the scan results, ensure that no other guitars in Programming Mode are nearby.
Step 5. Select the guitar name you wish to create.
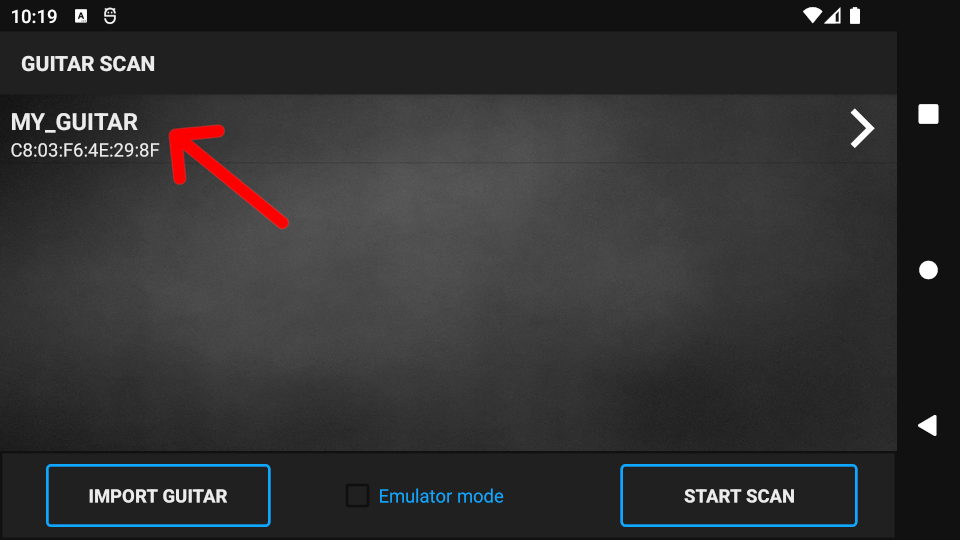
- If no search results appear, make sure that Location services are turned on for your device and try again.
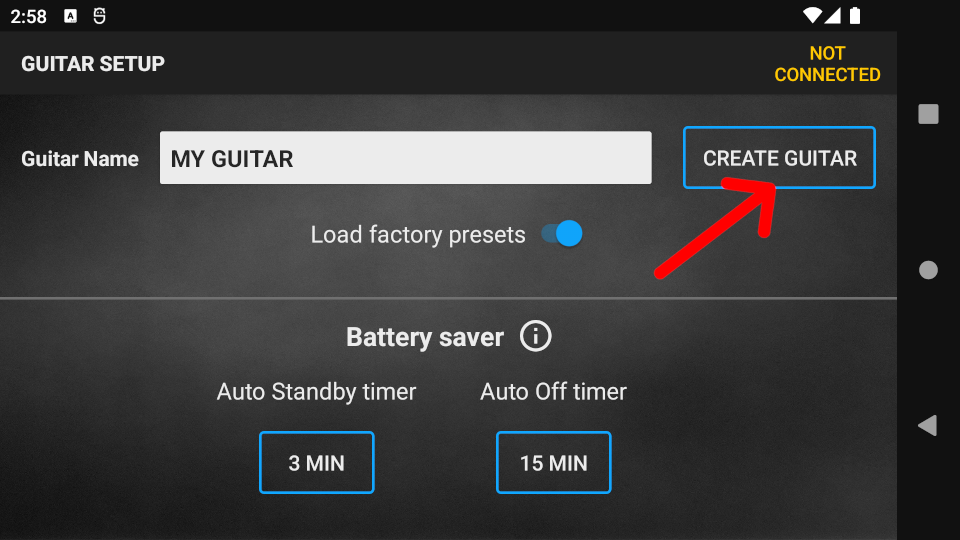
Step 6. Name your guitar on the next screen and optionally set the Battery Saver timers. To load the factory presets onto your guitar, make sure that the Load Factory Presets switch is turned on (blue color), otherwise the guitar will be empty. Finally, press the CREATE GUITAR button.
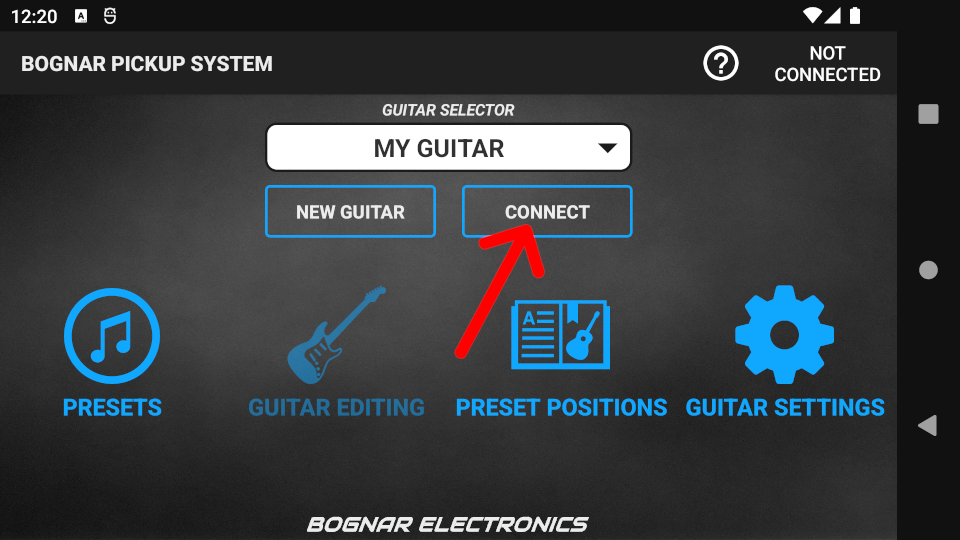
Step 7. The name of your newly created guitar will appear in the GUITAR SELECTOR box on the start screen. Press the CONNECT button.
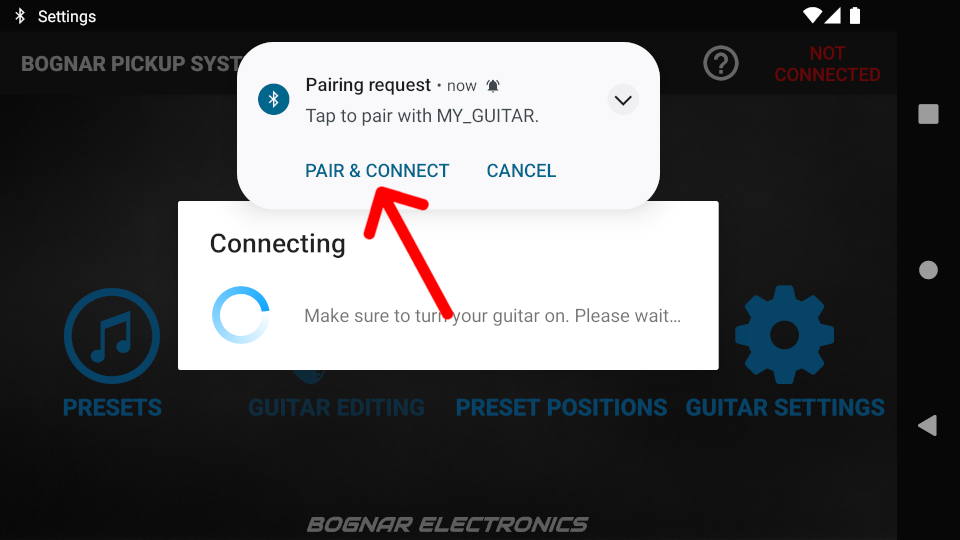
Step 8. The initial Bluetooth® pairing begins. Pairing is indicated by a sound and a pop-up notification.
- If the notification did not appear automatically, swipe down on your screen for the notification, and press it.
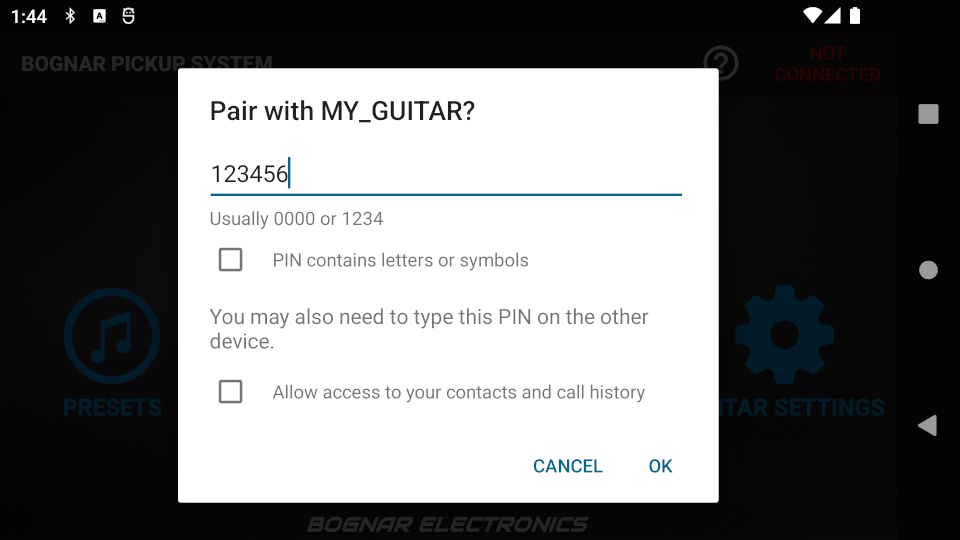
Step 9. Type in the default Pin (123456) in the popup window, then press OK. The app will connect to the guitar.
Upon successful connection, the guitar LED will repeatedly flash blue, and synchronization with the guitar begins. During the synchronization process, the factory presets are loaded onto the guitar. This may take 15-45 seconds.
More info: Connecting to a guitar
- If the LED still flashes red, press CONNECT again and repeat the process. If the pairing was successful the first time, no pairing request will appear next time.
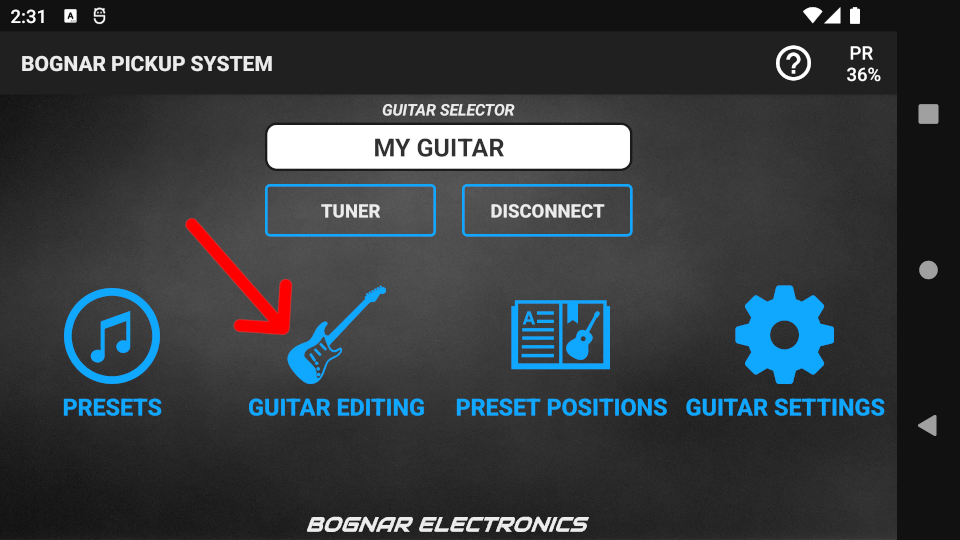
Step 10. After successful synchronization, press the GUITAR EDITING button to enter GUITAR EDITING. (GUITAR EDITING can also be activated by turning the MAIN switch on the guitar to any of the preset bank positions (A-J).)
Step 11. Turn the MAIN switch to the “A” position. Every preset position in bank “A” will appear on the screen.
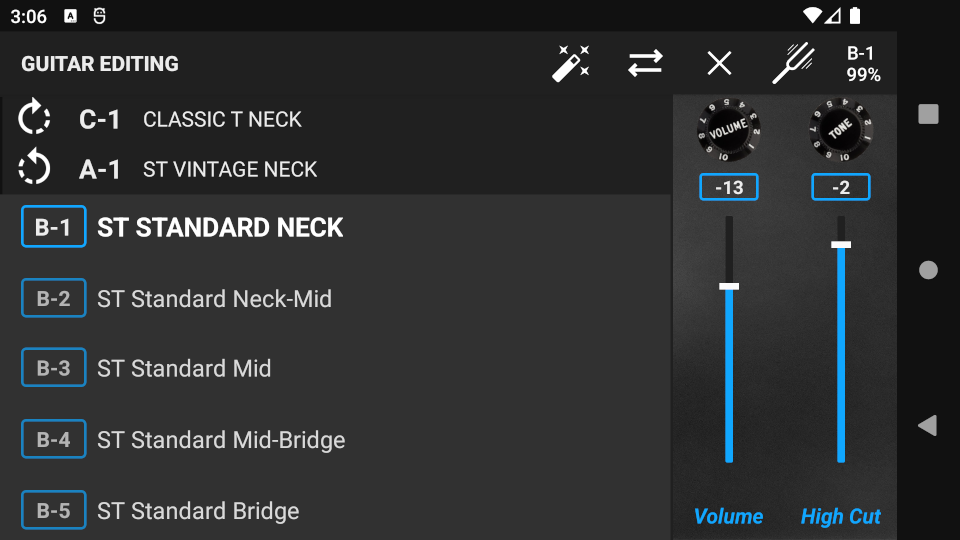
To choose a preset position, use the 5-way switch. The selected preset will be active and audible. The potentiometers are also active in this mode, so make sure to turn them up if the guitar remains muted.
- If the selected preset position is empty (no preset is assigned), the guitar is muted.
To select other preset positions, use the MAIN switch to change bank and the 5-way switch to change position, as described above. To exit GUITAR EDITING, turn the MAIN switch back to PR.
In GUITAR EDITING, all functions for programming the guitar are easily accessible through the icons on the Action Bar. In summary, the main functions are:
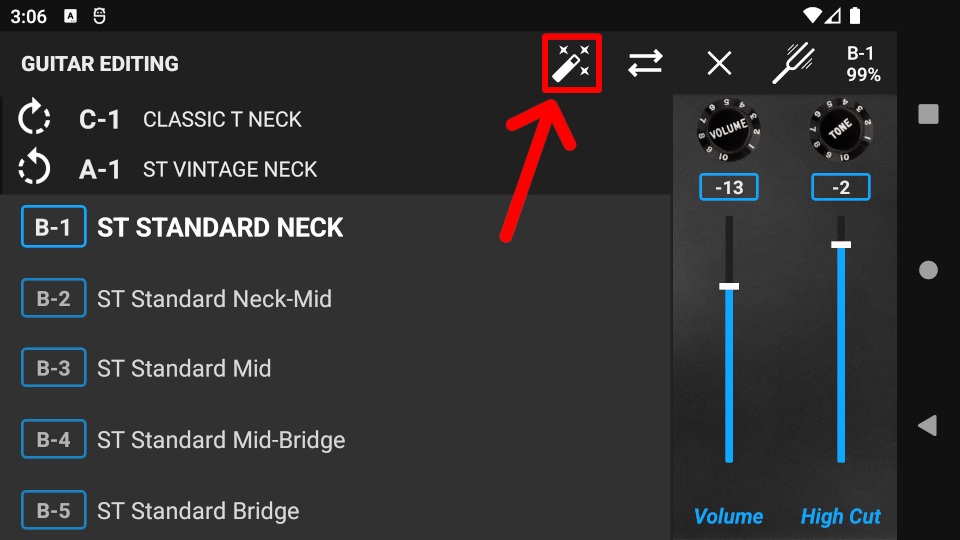
Preset editing
To edit the active preset, press the “enhance” icon. For more info: “Preset editing”.
Change preset assignment
To assign a preset to the current position (or to change the existing assignment), press the “swap” icon.
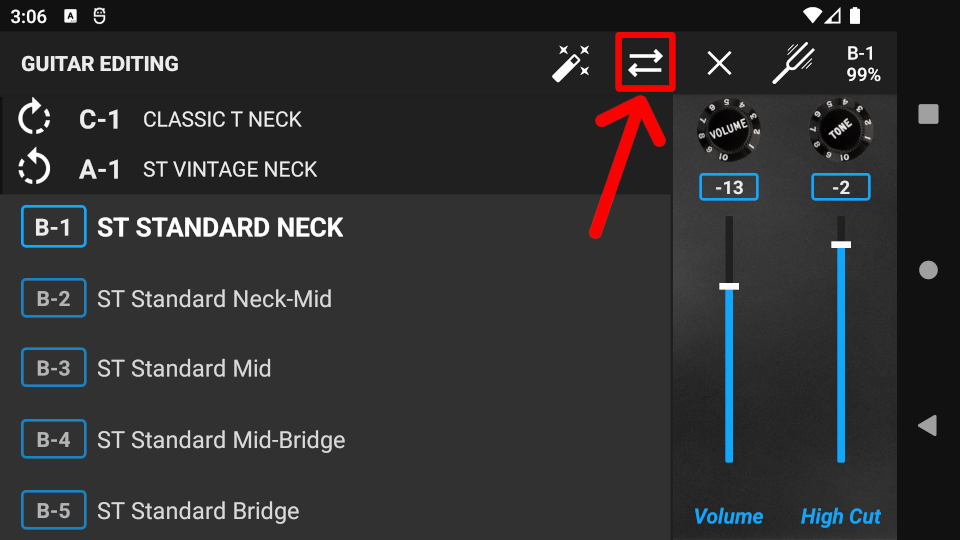
The Preset list appears. Find the desired preset in the list, then press on the name twice to assign it. (Presets which have already been assigned are indicated in the list with the “assignment” icon.)

Delete assignment
To delete the assignment of the current position, press the “clear” icon. In an empty preset position the guitar is muted.
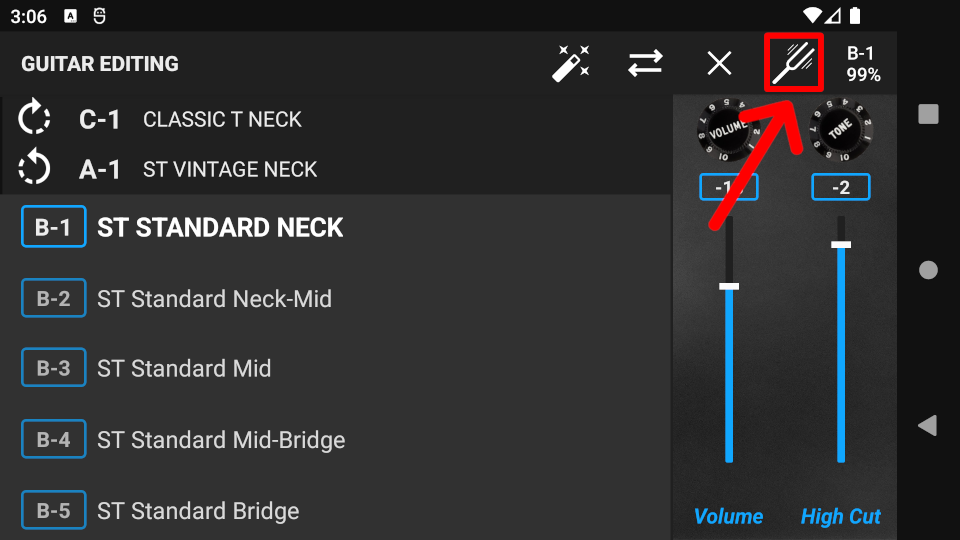
Tuner
To tune, press the tuning fork icon on the Action Bar.
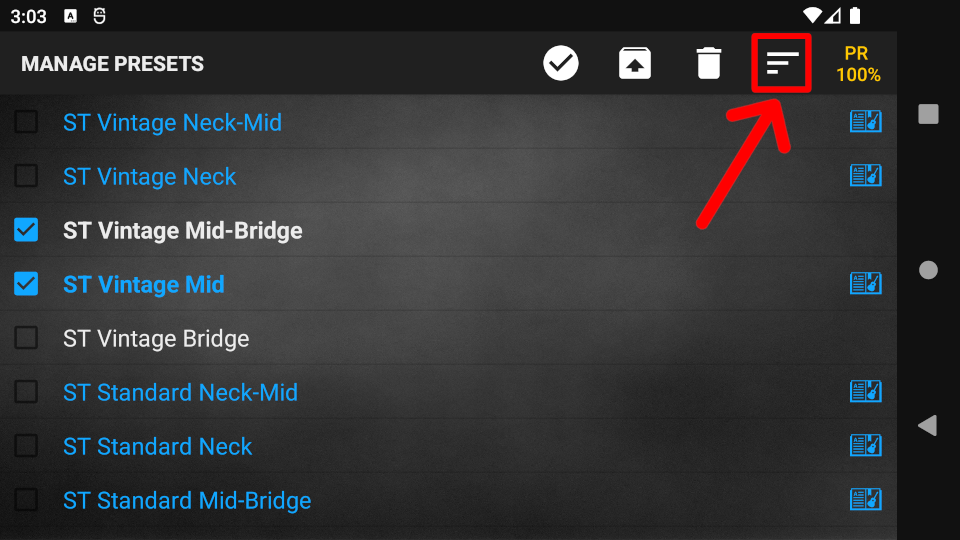
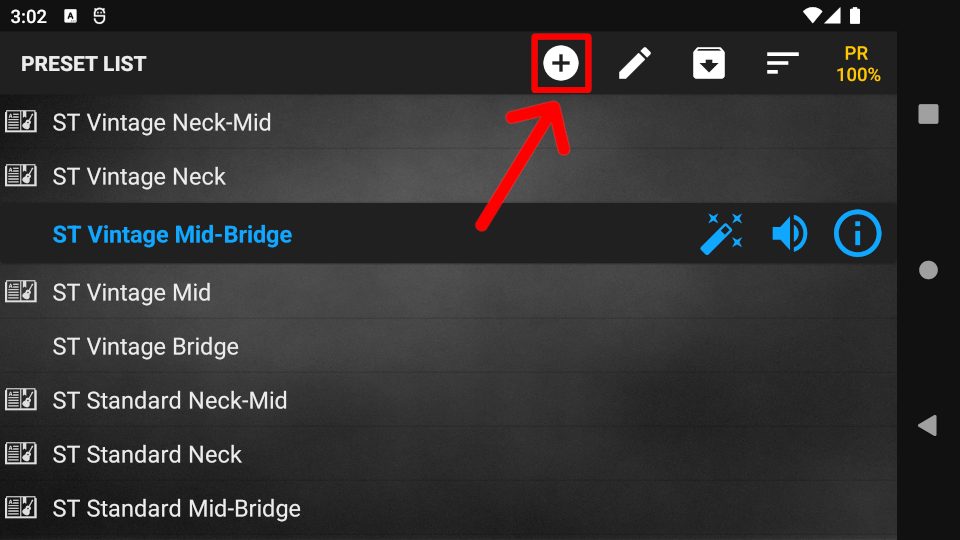
Preset list
Press the “swap” icon to bring up the Preset list. All the functions associated with presets can be accessed by pressing the icons located on the Action bar:
Preset creation, templates and copy
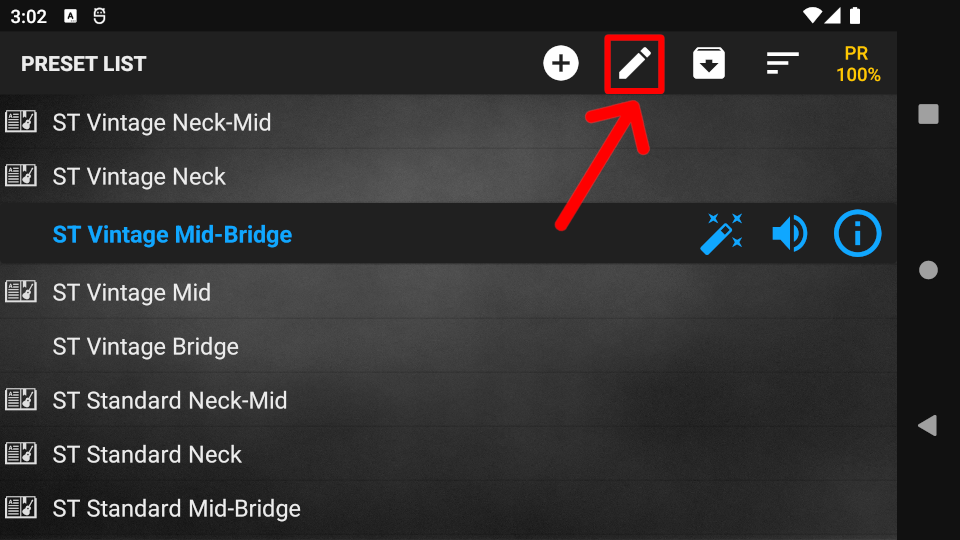
Rename preset
Import presets from file

Sort

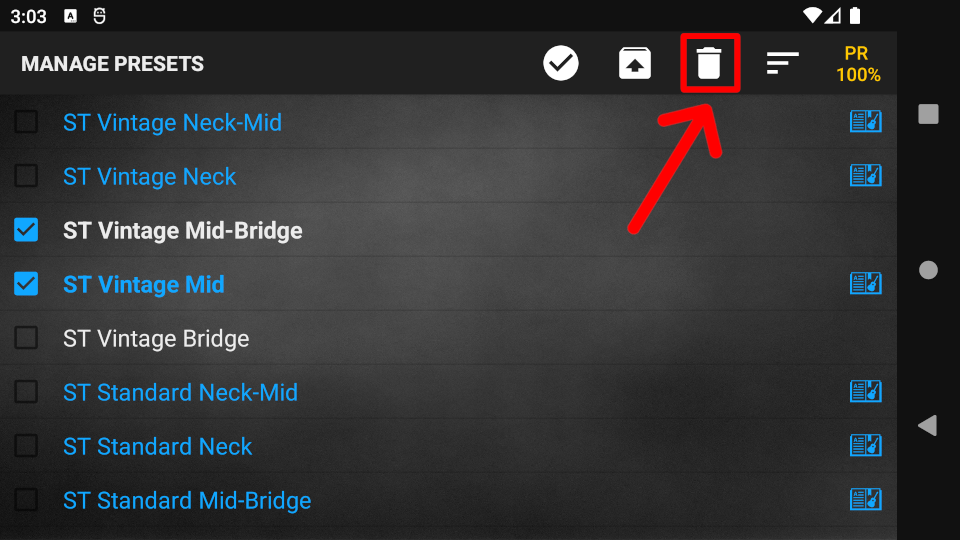
To enter multiple selection mode press and hold any preset in the list. In multiple selection mode, the following functions are available:
Select/unselect all

Delete presets
Export presets to file
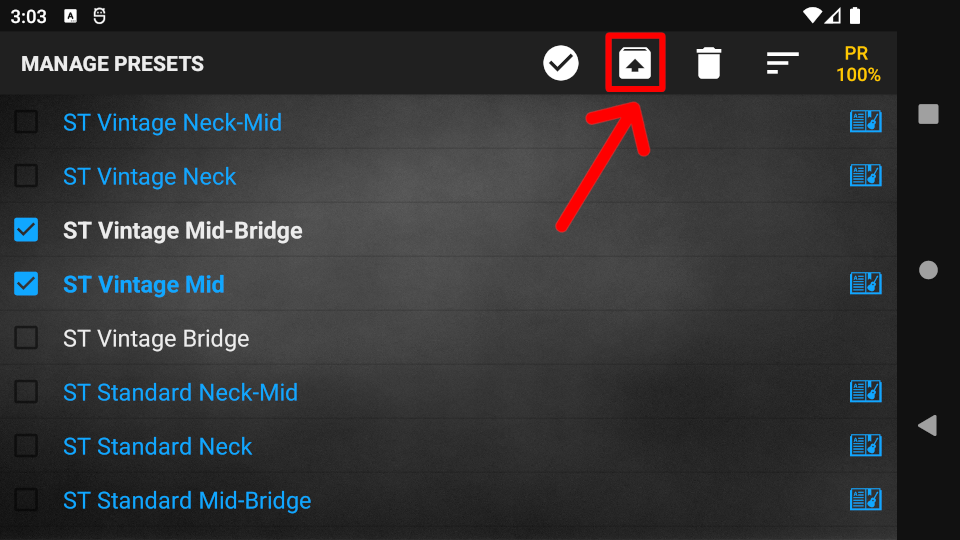
Sort