A guitar must be created in the application in order to connect to it. More info: Connecting to a guitar
Step 1. Enter Programming Mode by turning the MAIN switch on your guitar to the “PR” position. In Programming Mode the LED flashes red repeatedly, indicating that the guitar is ready for connection.
Step 2. Start the application.
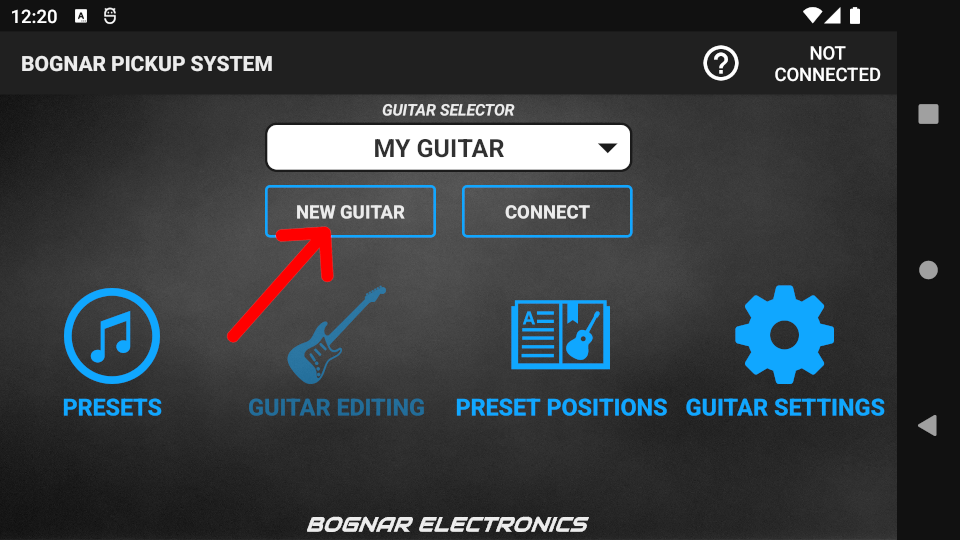
Step 3. Press the NEW GUITAR button to start creating your guitar in the app.
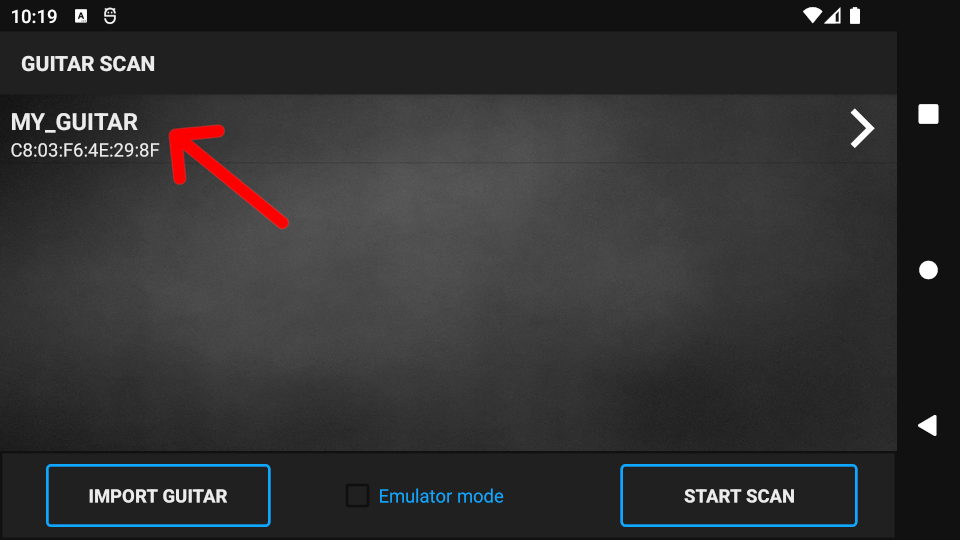
Step 4. Start scanning for your guitar by pressing the START SCAN button.
Bluetooth® scan requires Bluetooth® to be turned on with access to your device location. Accept the permission request to continue. To easily find the right guitar in the scan results, ensure that no other guitars in Programming Mode are nearby.
Step 5. Press on the guitar name you wish to create.
- If no results appear, ensure Location services are enabled for your device and try again.
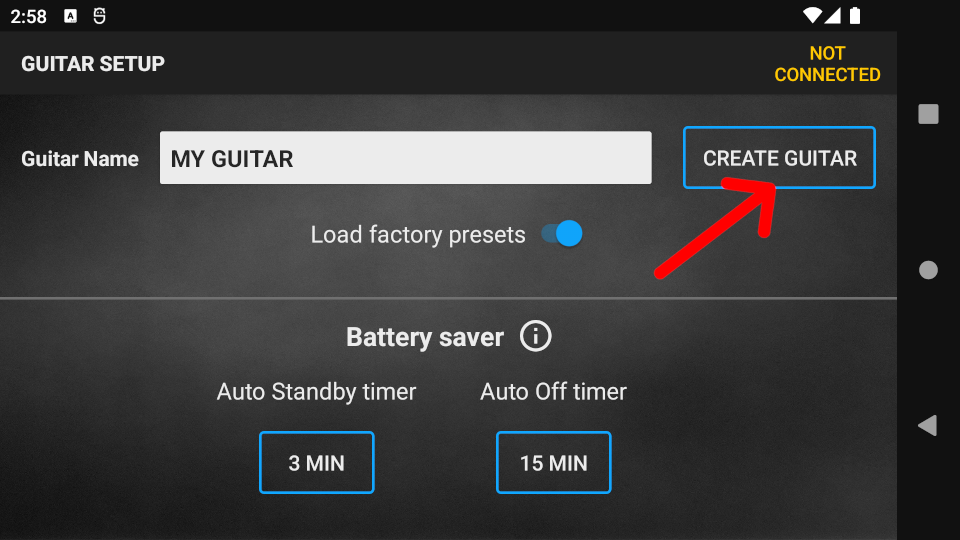
Step 6. Name your guitar on the next screen and optionally set the Battery Saver timers. To load the factory presets to your guitar, make sure that the Load Factory Presets switch is turned on (blue color), otherwise the guitar will be empty. Finally, press the CREATE GUITAR button.
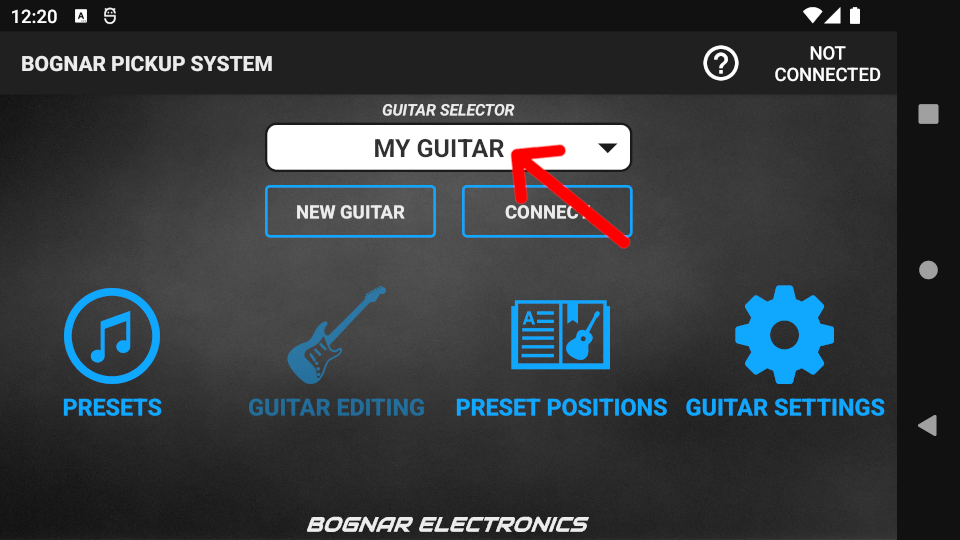
The name of your newly created guitar will appear in the GUITAR SELECTOR box on the start screen. To change the settings of your guitar, press the GUITAR SETTINGS button.